Decorating Classes: Cakes, Cookies, Cupcakes & Chocolate Making
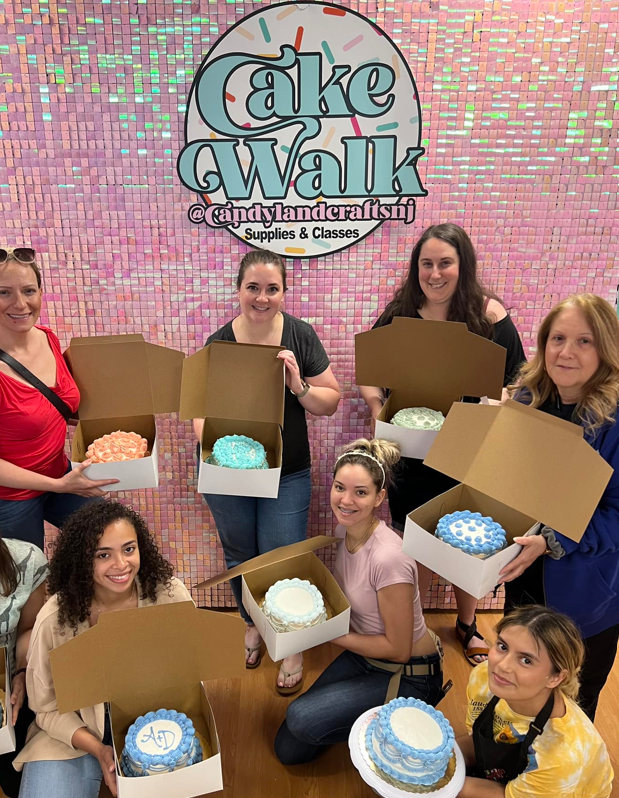
Here's what you can learn:
- Icing Cakes, Cupcakes
- Piping Buttercream
- Shaping Fondant
- Royal Icing
- Stenciling Cookies
- Molding Chocolate
- Dipping Fruit
Conveniently located in Somerset County, with easy access by highways I-287/Rt 202/Rt 206 or a short walk from New Jersey Transit's Raritan stop on the Raritan Line.